
The Dawn of Vibe Coding: Creating Android Apps with Zero Code
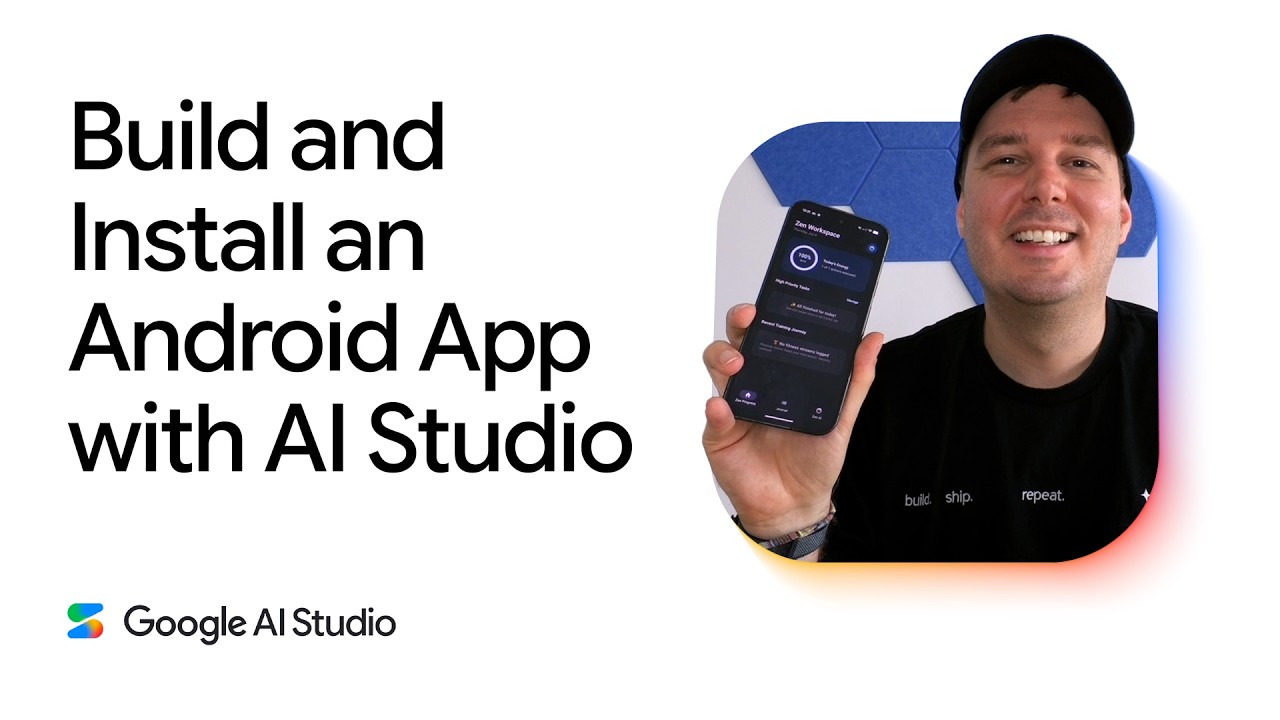
The barrier to entry for software development has officially collapsed. Gone are the days when building a native mobile application required months of studying Java or Kotlin, mastering complex Android Studio environments, and wrestling with Gradle configurations. Today, we are entering the era of “vibe coding”—a paradigm shift where complex software systems can be conjured into existence using nothing but natural language prompts and powerful generative engines. In this deep dive, we explore how you can use Google’s AI Studio to build, customize, and deploy a fully functional, personalized Android application directly onto your physical device without writing a single line of code.

Step 1: Architecting Your App in AI Studio
The journey begins inside Google’s AI Studio, a developer-friendly playground designed to harness the power of state-of-the-art foundation models. To start your app creation workflow, navigate to the Build tab and select the dedicated chip for building an Android app. From here, your primary tool is your imagination.
Rather than thinking about UI hierarchies, data schemas, or lifecycle state management, you simply describe the desired end product. For example, to build a combined tracker, you can feed the system a prompt like:
“Build me an Android todo and fitness tracker app with a minimalist design. It should include a clean AI tab where I can ask questions about my tasks, workouts, and the upcoming day.”
This prompt initiates a dual-layered build process. Not only does it outline a clean, modern user interface, but it also embeds deep AI integration powered natively by the Gemini API. This allows the finished app to process user inquiries contextually, generating personalized insights about schedule optimizations and fitness metrics.
Step 2: Customizing and Simulating the UI
Once you trigger the build process, the underlying LLM agent coordinates the compilation of the assets, layout files, and logical structures. While this process is executing, AI Studio keeps you engaged by serving up real-time design previews and style suggestions.

Users are presented with multiple aesthetic themes—such as minimalist light, high-contrast, or sleek dark mode interfaces. Selecting a design automatically updates the ongoing compilation process. When the build pipeline completes, an interactive, live simulator launches directly inside your web browser. This allows you to test navigation flows, verify input fields, and ensure the UI looks exactly as intended before pushing the application to raw hardware.
Step 3: Preparing Your Android Device for USB Deployment
To run your newly minted application on a physical phone, you must establish a secure bridge between your development computer and your Android device. This is done by enabling Android’s built-in developer frameworks. Follow these steps carefully:
- Enable Developer Options: Open your smartphone’s settings app, navigate to About Phone, scroll down to the Build Number, and tap it rapidly seven times. You will see a toast notification confirming that “You are now a developer!”
- Activate USB Debugging: Return to the main settings page, locate the new System -> Developer Options menu, and toggle on the switch for USB Debugging. This authorizes external installations over a wire connection.
- Connect Your Device: Plug your phone into your computer using a high-quality USB cable. Crucially, ensure that the cable supports data transfer and is not merely a charge-only cable.
Step 4: Launching the App on Your Phone
With debugging enabled and your physical device securely tethered, return to AI Studio and click the Install button. If this is your first time deploying from this workstation, a prompt will appear on your phone asking you to authorize debugging access; simply grant the permission.

AI Studio will package the application, compile it into an APK, and sideload it directly onto your device. Within seconds, you can disconnect the cable and utilize your bespoke, Gemini-fueled productivity suite on the go. The entire lifecycle—from abstract text prompt to a running physical binary—takes mere minutes.
Embracing Iterative Development (Vibe Coding)
The true magic of this modern paradigm lies in its continuous feedback loop. If you discover a bug, require an extra visual touch, or decide you want to track a new metric (like water intake or calorie counts), you don’t need to refactor any source code. You simply describe the necessary changes in the chat input in AI Studio. The platform intelligently iterates on your existing application blueprint, updates the simulator, and lets you re-ship the build directly over USB. Welcome to the future of software creation—where anyone can build anything, anywhere, anytime.